Ad Details
-
Ad ID: 2060
-
Added: September 5, 2023
-
Views: 812
Description
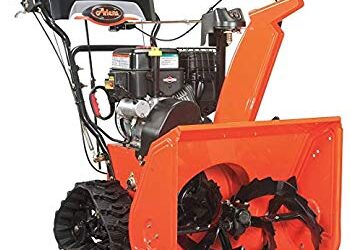
Introduction to Rebuilding a Carburetor on a Snowblower
A snowblower is an essential tool for clearing driveways and walkways during the winter season. To ensure that it performs optimally, a carburetor rebuilding may be necessary.
The carburetor is a crucial component that mixes fuel and air before it is delivered to the engine. Over time, it can become clogged or damaged, leading to poor performance. Rebuilding the carburetor can restore its functionality and improve the snowblower's overall efficiency.
Before embarking on this task, it is essential to gather the necessary tools and materials. You will need a carburetor rebuild kit specific to your snowblower model, a clean work surface, safety glasses, gloves, screwdrivers, pliers, and carburetor cleaner. It's also advisable to consult the snowblower's manual for guidance on disassembly and reassembly.
To begin, it is crucial to ensure the snowblower is powered down and the spark plug wire is disconnected. Locate the carburetor, usually positioned near the engine.
Start by removing the air filter cover and air filter. Next, use a screwdriver to detach the fuel line from the carburetor. Remove the screws holding the carburetor in place and carefully detach it from the engine. Set it on a clean surface and inspect it carefully for any signs of damage or clogging.
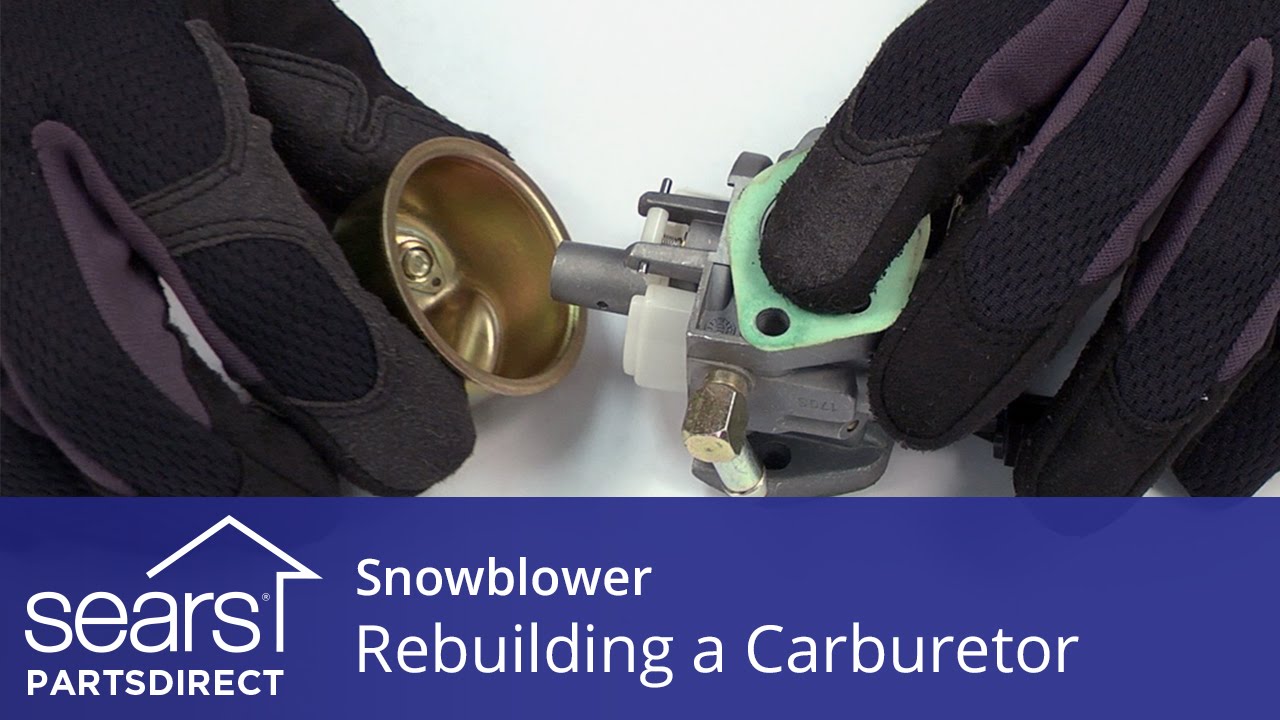
Disassembling the Carburetor
With the carburetor removed from the snowblower, it's time to disassemble it carefully. This process may vary depending on the carburetor model, so following the manual's instructions is crucial.
Start by removing the carburetor bowl, which is often held in place by a few small screws. Be cautious as it may contain leftover fuel. Empty the contents of the bowl into a container, then inspect it for debris, water, or varnish buildup. Clean the bowl using carburetor cleaner and allow it to dry.
After cleaning the bowl, carefully remove the carburetor float and needle valve. These components control the fuel level within the carburetor. Inspect them for any signs of damage or wear. Clean them thoroughly using carburetor cleaner and ensure they move freely without any obstructions. Set them aside to dry before reassembly.
Next, remove the carburetor jets using a small flathead screwdriver. These jets are responsible for regulating the fuel-air mixture. Inspect them for clogs or buildup, and clean them using carburetor cleaner and compressed air. Remember to be gentle during this process to avoid damaging the jets. Once cleaned, set them aside for drying before reassembly.
Cleaning and Reassembling the Carburetor
Now that all the carburetor components have been thoroughly inspected and cleaned, it's time to reassemble them. Begin by reinstalling the jets in their respective positions. Ensure they are tightened securely but not excessively.
Next, insert the float and needle valve back into their positions, making sure the float moves freely without interference. Finally, carefully attach the cleaned carburetor bowl to the bottom of the carburetor, securing it with the small screws. Be cautious not to overtighten.
Once the carburetor is reassembled, it's essential to reinstall it back onto the snowblower engine. Align the carburetor correctly and use the screws to hold it securely in place. Carefully reattach the fuel line, ensuring it is tight and secure. Then, reinstall the air filter and air filter cover.
Before running the snowblower, it is crucial to adjust the carburetor settings to ensure proper fuel-air mixture. Consult the manual for specific instructions on adjusting the carburetor. Once the adjustments are made, connect the spark plug wire, and the snowblower is ready for a test run.
Maintaining and Troubleshooting the Carburetor
After rebuilding the carburetor, it is vital to perform regular maintenance to keep it in good working condition. Regularly check the carburetor for any signs of clogging or damage. Inspect and clean the carburetor bowl, jets, float, and needle valve periodically. Additionally, it is essential to use high-quality fuel and check the fuel filter regularly to prevent debris from reaching the carburetor.
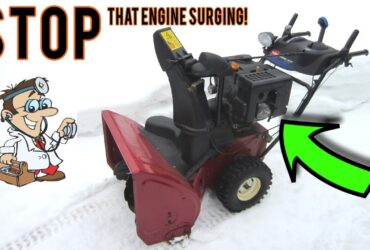
If you encounter any issues with your snowblower's performance, such as difficulty starting, uneven idling, or loss of power, the carburetor may be the culprit.
Troubleshooting a carburetor issue typically involves checking for clogs, adjusting mixture screws, or inspecting gaskets for leaks. Consult the snowblower's manual or seek professional assistance if needed.
By regularly maintaining and troubleshooting the carburetor, you can extend the lifespan of your snowblower and ensure its efficient operation during winter seasons for years to come.
Call to Action: Rebuilding a carburetor on a snowblower may seem daunting initially, but with the right tools, materials, and guidance, it can be a rewarding and cost-saving DIY task. Remember to consult your snowblower's manual throughout the process and always prioritize safety.
Regular maintenance and troubleshooting of the carburetor will help keep your snowblower in optimal condition and ready to tackle even the heaviest snowfalls.